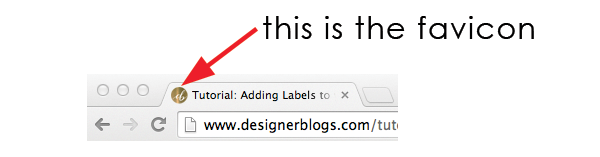
A favicon on your blog or website is essential to creating brand identity. Favicons are small icons (usually 16×16 pixels) that appear next to your blog title in the browser tab. They help readers identify your blog and are super easy to add. Learn how to add a custom favicon to your blog in less than a minute!
Adding a Custom Favicon
This tutorial will walk you through how to add a favicon in both WordPress and Blogger. We’ve created a few basic ones you can use as you try out this tutorial. Click the button below to get the whole pack:

In WordPress
This guide should work with all WordPress themes and is easy to follow!
Check your dashboard
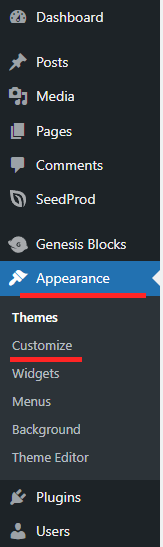
All you need to do is visit your WordPress Dashboard and navigate to the Appearance tab on the left. From the drop-down menu, pick the customize button to access favicon settings.
Update your site identity
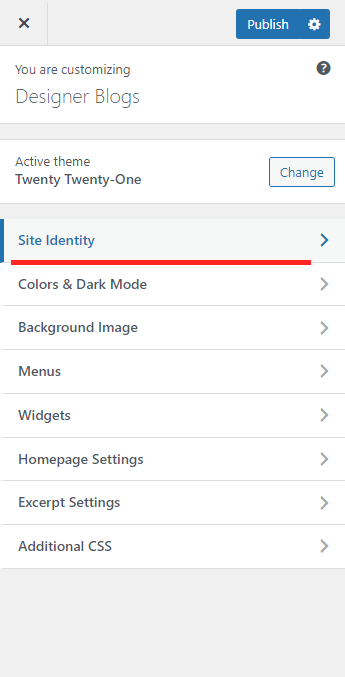
In the new window, pick the Site Identity tab, and in the Site Icon section, upload your favicon by clicking the ‘Select Site Icon’ button.
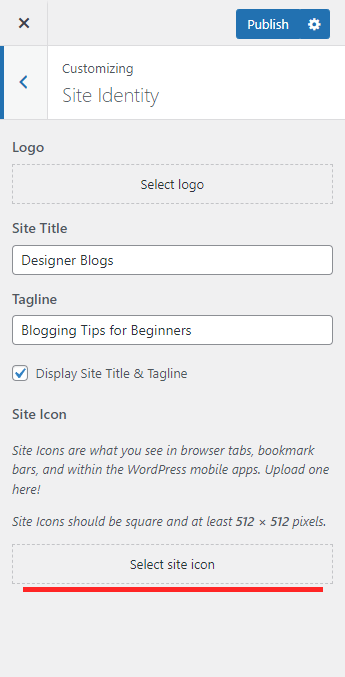
Remember to save all changes by clicking the blue Publish button in the top right corner.
In Blogger
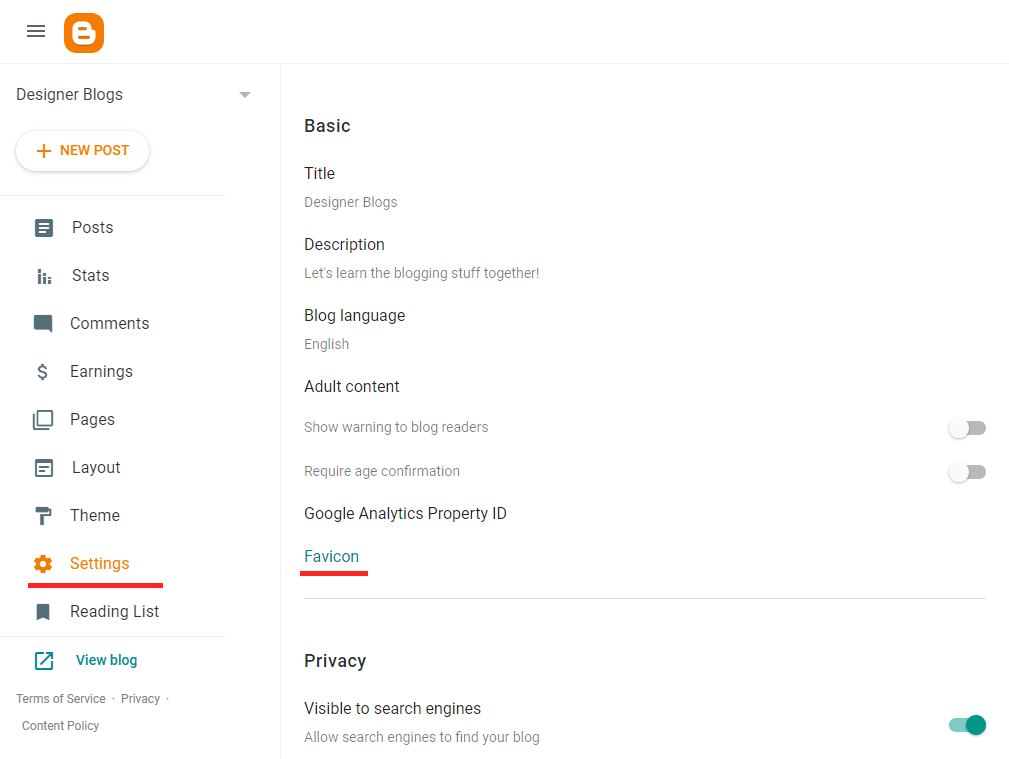
In your dashboard, go to the Settings tab on the left. Then find the Favicon button in the Basic section on the right.
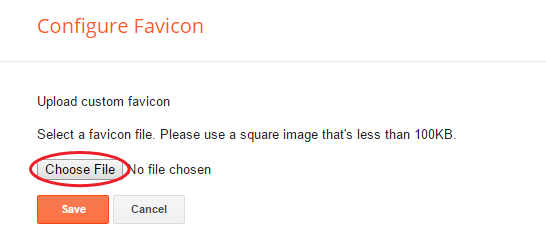
On the new page, click ‘Choose File’ and search your computer for the favicon file you wish to upload. Then click ‘Save’ to save your changes.
View your blog, and you’ll see your new favicon!
If you’d like a custom favicon designed that coordinates perfectly with your blog design, visit our blog accessories shop and purchase the “favicon” option, and a designer will be in touch to get that custom designed and added to your blog for you.
The post How to Add a Custom Favicon to Your Blog or Website appeared first on Designer Blogs.
Go to Source
Author: Kate