
In LEGO Star Wars: The Skywalker Saga, some of the collectibles that can be found are the 25 Minikits in Episode II: Attack of the Clones. These 25 Minikits are divided into groups of five, with one set being located within each mission. Many of them can be found during the Story Mode playthrough of the game, but the rest will have to be obtained during Free Play. This is because each character belongs to a certain class, giving them unique abilities that allow players to uncover secrets.
All characters in LEGO Star Wars: The Skywalker Saga are useful in Free Play mode, whether it be for collecting a Minikit, uncovering a new secret, or for the pure enjoyment of controlling the characters themselves. Nonetheless, by using Free Play or Story Mode to collect all five Minikits in a given mission, players will be able to construct a Microbuild Ship. Microbuild Ships reflect the designs of vehicles and vessels that are a staple of that particular episode, or a transportation craft that is uniquely distinct from all others. Most importantly, the Minikit ships are used to explore space or Free Play missions with characters riding atop them.
Finding every Minikit location in LEGO Star Wars Episode II will require not only the use of other characters in Free Play mode but the use of other characters from different episodes. This is because some characters have the ability to destroy metal objects, while others can destroy golden bricks, or, in the case of the Scavenger class, even use a variety of unique tools. Naturally, force users are a necessity for finding some of the Minitkits, but Episode II features an abundant amount of these characters for players to choose from.
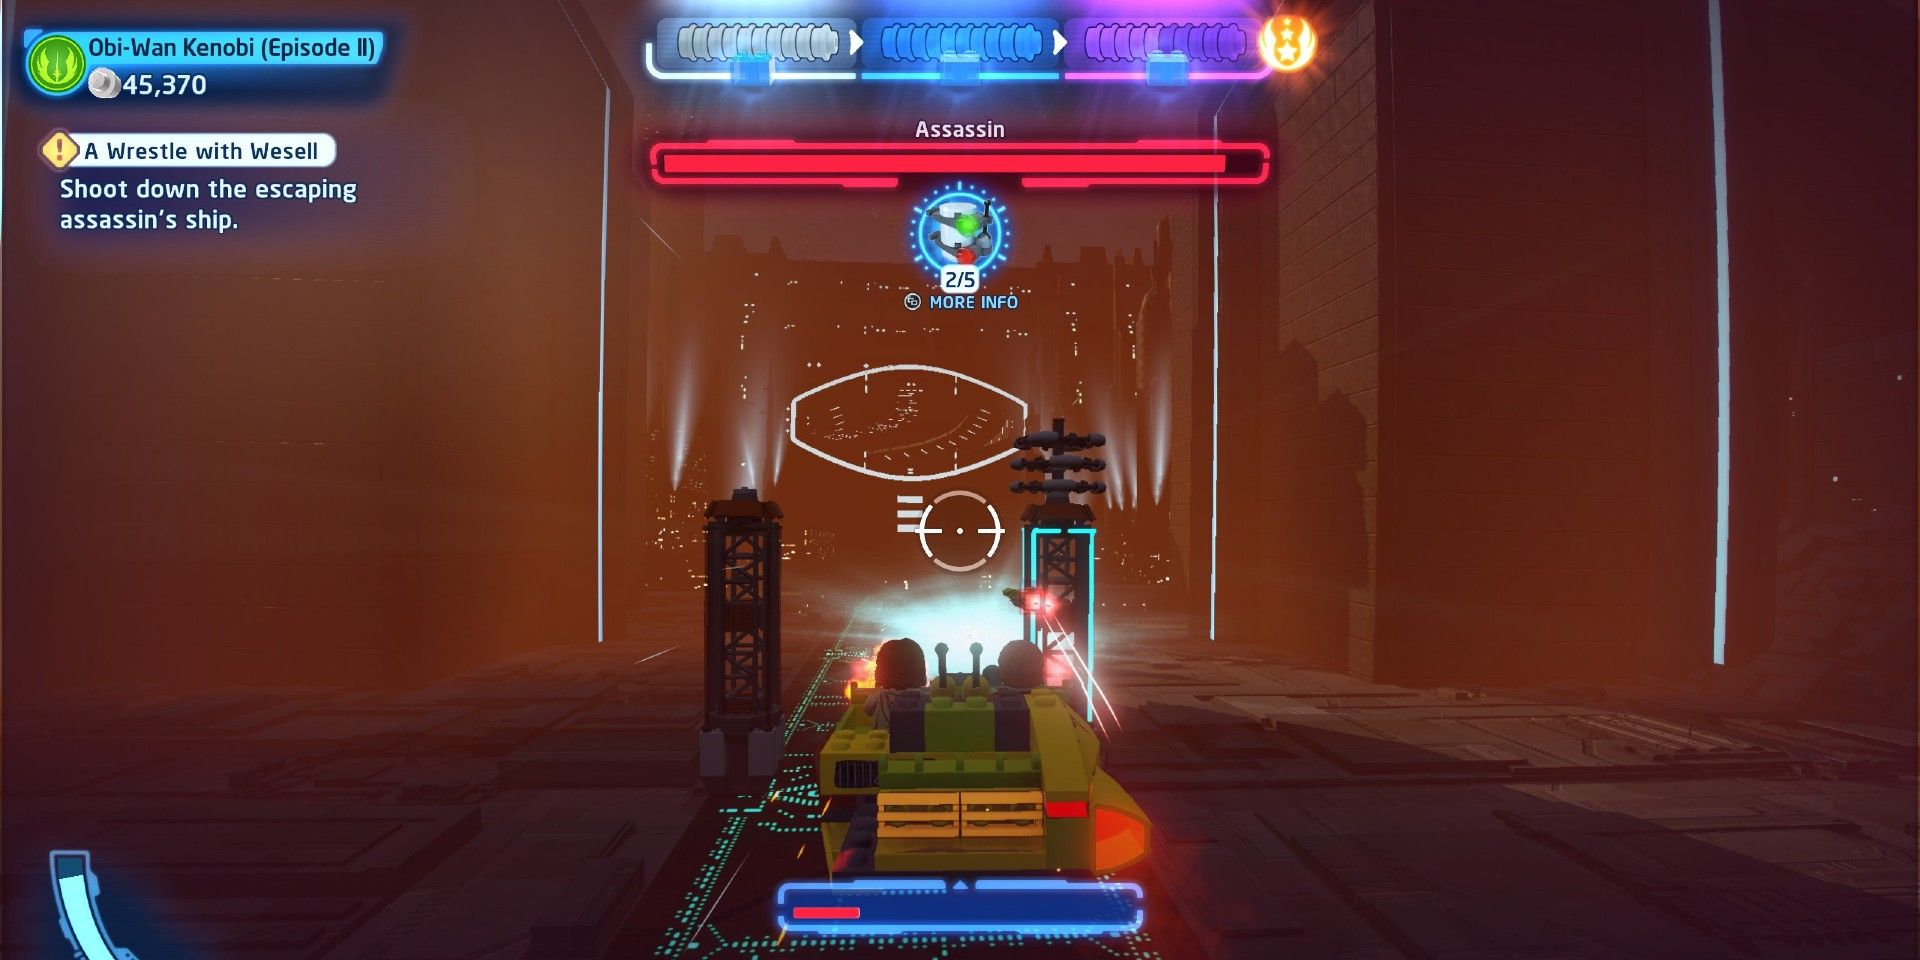
A Wrestle With Westle is a mission for which its pace is controlled by how quickly Wessel is shot out of the sky by Anakin Skywalker in LEGO Star Wars. All five of the Minikits can be obtained on the Story Mode playthrough of the mission, but it’s also very easy to miss any single collectible given the fact that players are constantly moving forward. Though it isn’t featured in the film, Anakin’s speeder has a blaster that will allow players to shoot whatever they need to in order to get all five Minikits.
- Minikit #1: The first Minikit is located at the end of the power coupling gates.
- Minikit #2: Shortly after the first Minikit, keep an eye out for a forklift driving with cargo from left to right. Shoot its cargo to get the next collectible.
- Minikit #3: After leaving the tunnel, shoot three of the holographic Minikits to get the next one.
- Minikit #4: The fourth Minikit location in LEGO Star Wars: The Skywalker Saga is inside a giant holographic Minikit on the right side of the city.
- Minikit #5: In the same area as the third and fourth Minikits, shoot down as many advertising boards as possible to get the fifth collectible.
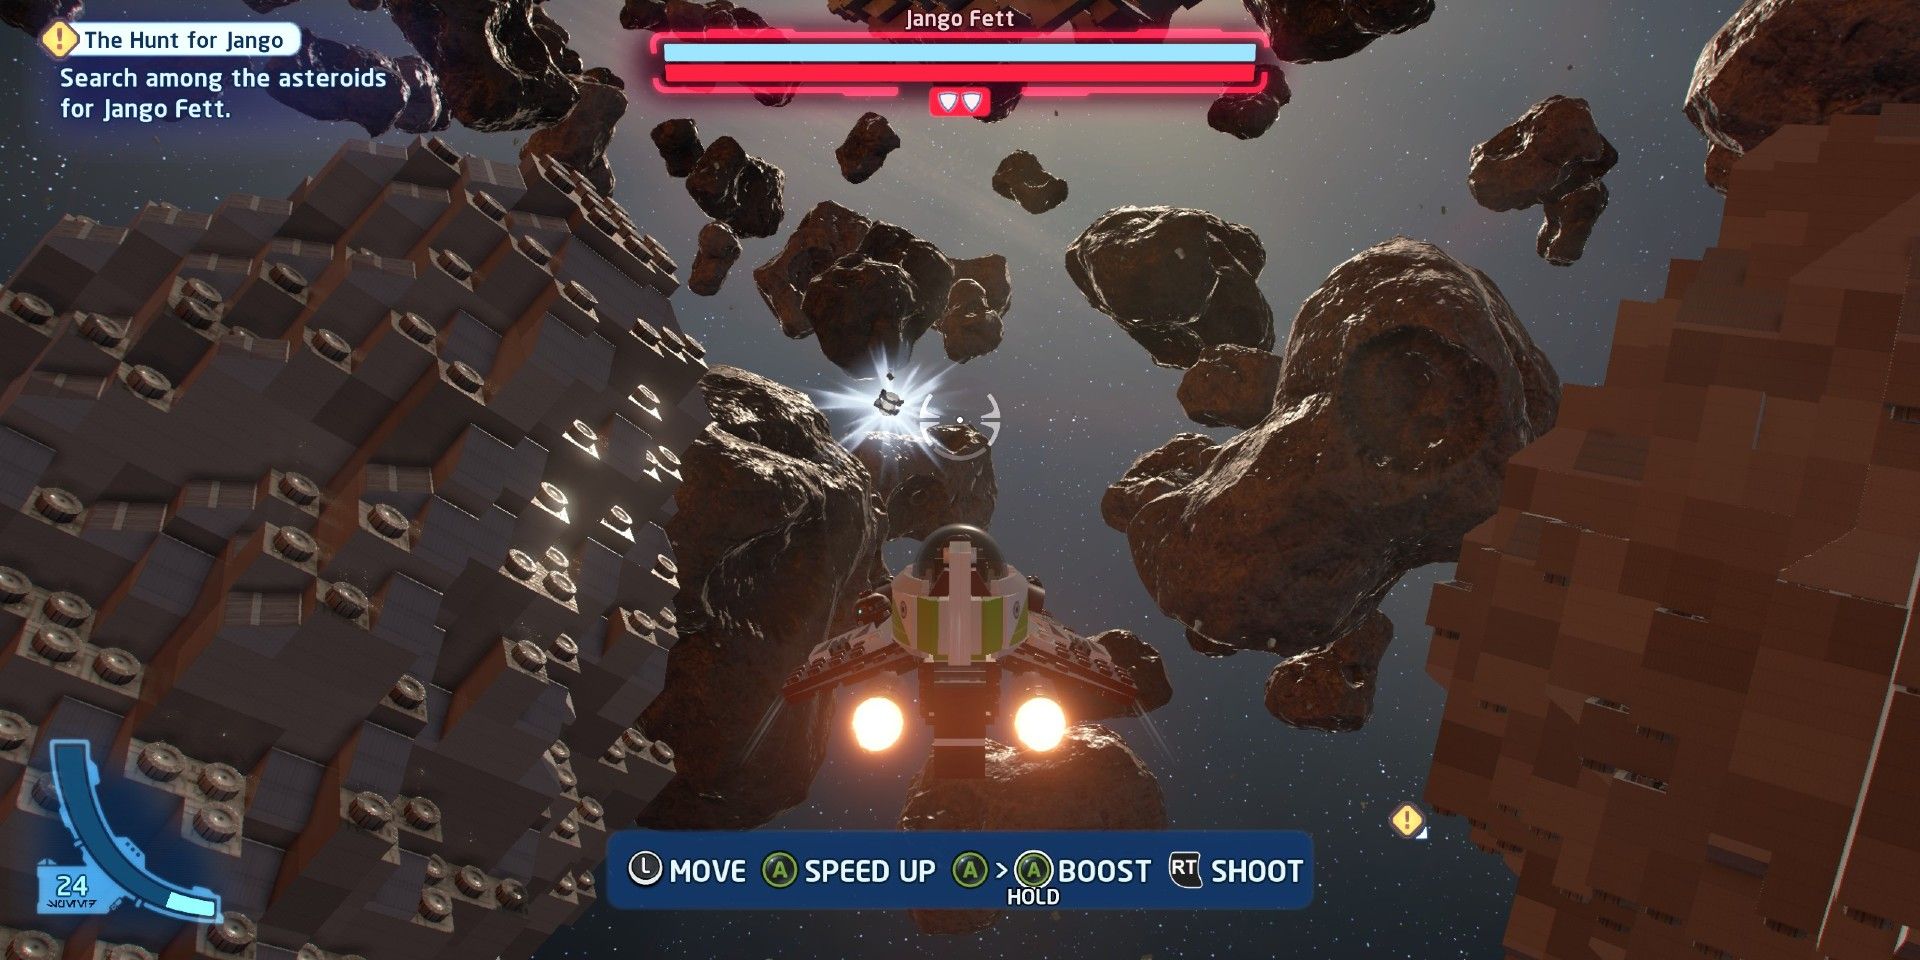
The Hunt For Jango Minikits may be the easiest to find of the five sets to find in Attack of the Clones. This mission features the chase scene as Obi-Wan pursues Jango to Geonosis, but there is a bit more free-roam exploration involved. The easiest way to find all five Minikits during the Story Mode playthrough is by not going to the first Jango location. Instead, navigate the asteroid field before beating this LEGO Star Wars mission.
- Minikit #1: Immediately head to the largest asteroid in the field, just behind the one Jango’s ship is in. Fly through it to find the first Minikit.
- Minikit #2: Orbiting the largest asteroid are five satellites. Destroy all five to get the second Minikit.
- Minikit #3: Near one of the satellites is another Minikit, floating through space on its own.
- Minikit #4: The fourth Minikit is on the bottom side of the first asteroid where Jango’s ship is located.
- Minikit #5: The final Minikit is actually an incredibly small asteroid that looks like the collectible, near Jango’s first asteroid, and needs to be destroyed.
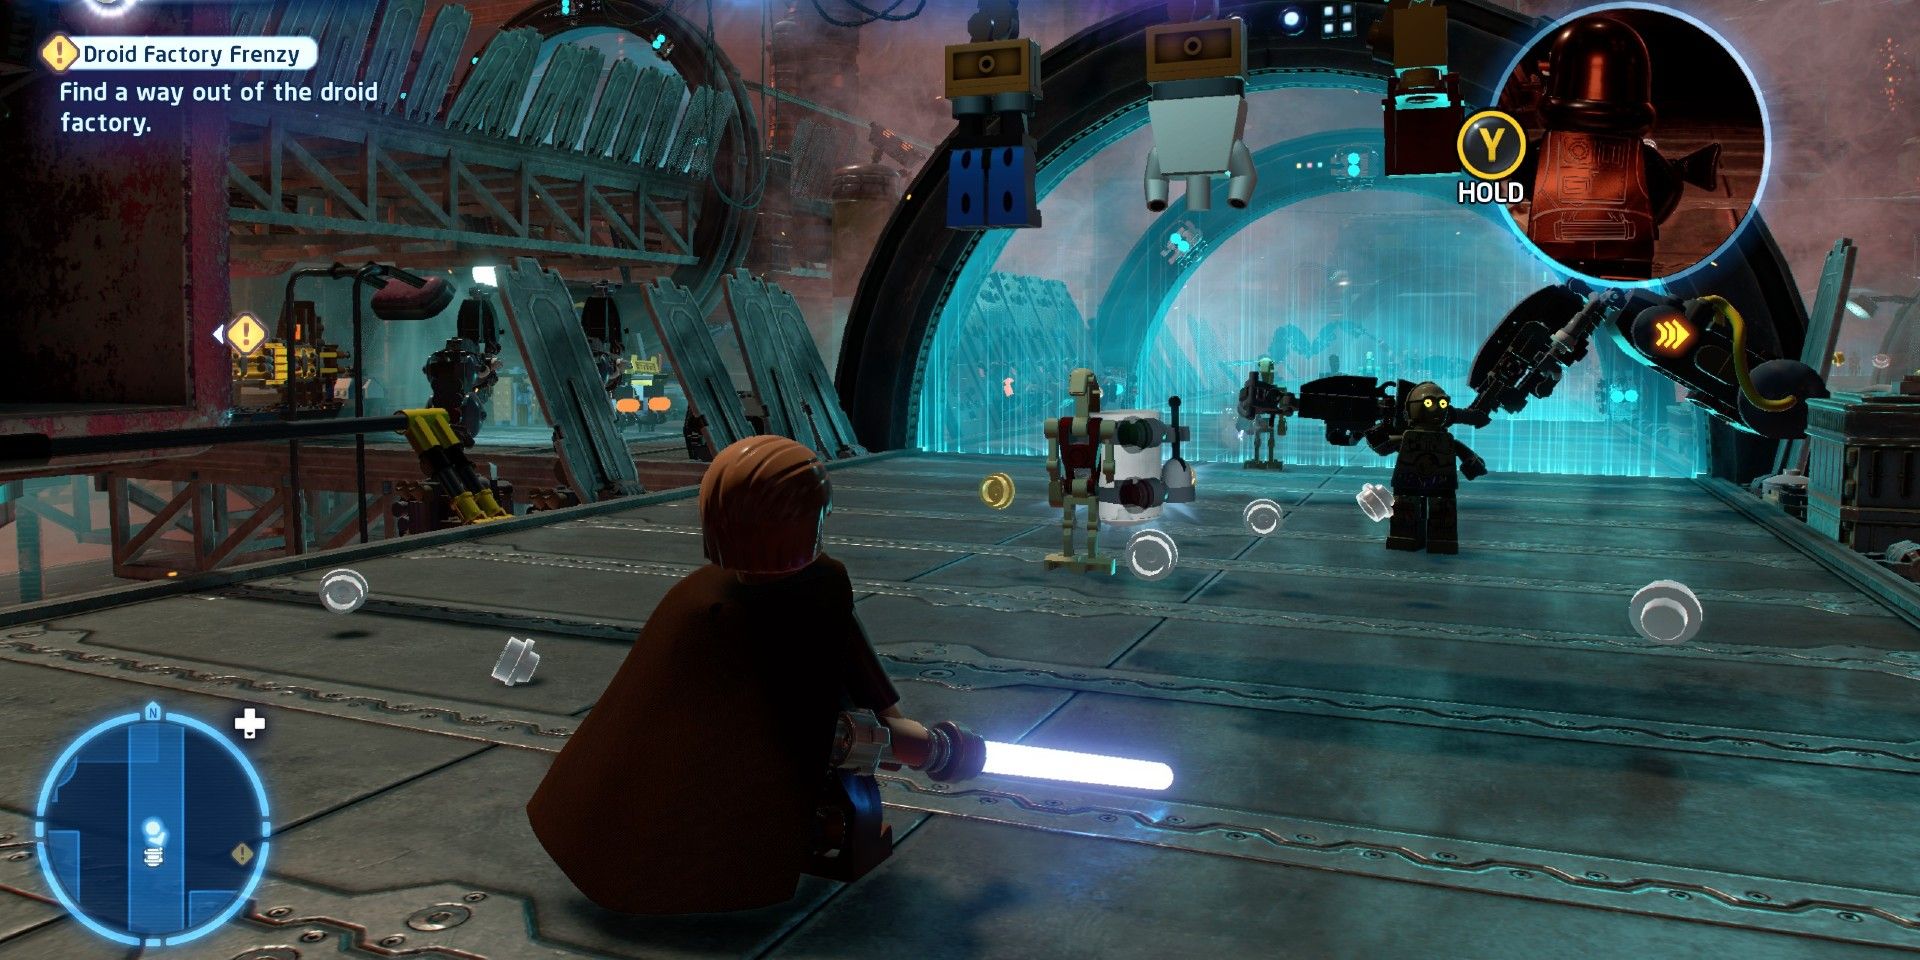
Droid Factory Frenzy is the first mission where players will need to find revisit the mission in Free Play mode to use other characters in LEGO Star Wars: The Skywalker Saga. In fact, only one Minikit can be acquired without Free Play mode, but the first Minikit should still be grabbed regardless. Once players return to the mission in Free Play mode, the previously obtained Minikit will be replaced by a 10k Purple Stud.
- Minikit #1: From Anakin’s point of view, drop down to the next conveyer belt. Jump on top of the first assembly machine, then jump towards the second to grab the only available Minikit in Story Mode.
- Minikit #2: Upon returning to Free Play mode from Anakin’s point of view, drop down to the next conveyer belt, then the next one after that. Immediately turn around, and use a Bounty Hunter to shoot the gold bricks. Climb the latter to reach the second Minikit.
- Minikit #3: Using the point of view of the other characters in LEGO Star Wars Droid Factory Frenzy, continue the mission down the conveyer belt. Wait for the overhead assembly hooks to hang the Minikit overtop of the conveyer belt, then destroy it to get the third one.
- Minikit #4: From R2-D2’s point of view, continue through the mission until the painting machine arm is reached. Once the arm paints a Minikit, destroy the painting to get the fourth one.
- Minikit #5: After Padmé gets tossed in the bucket, use a Villian character to destroy the metal on the left side of the assembly line, then a character with grappling capabilities to get the final Minikit.
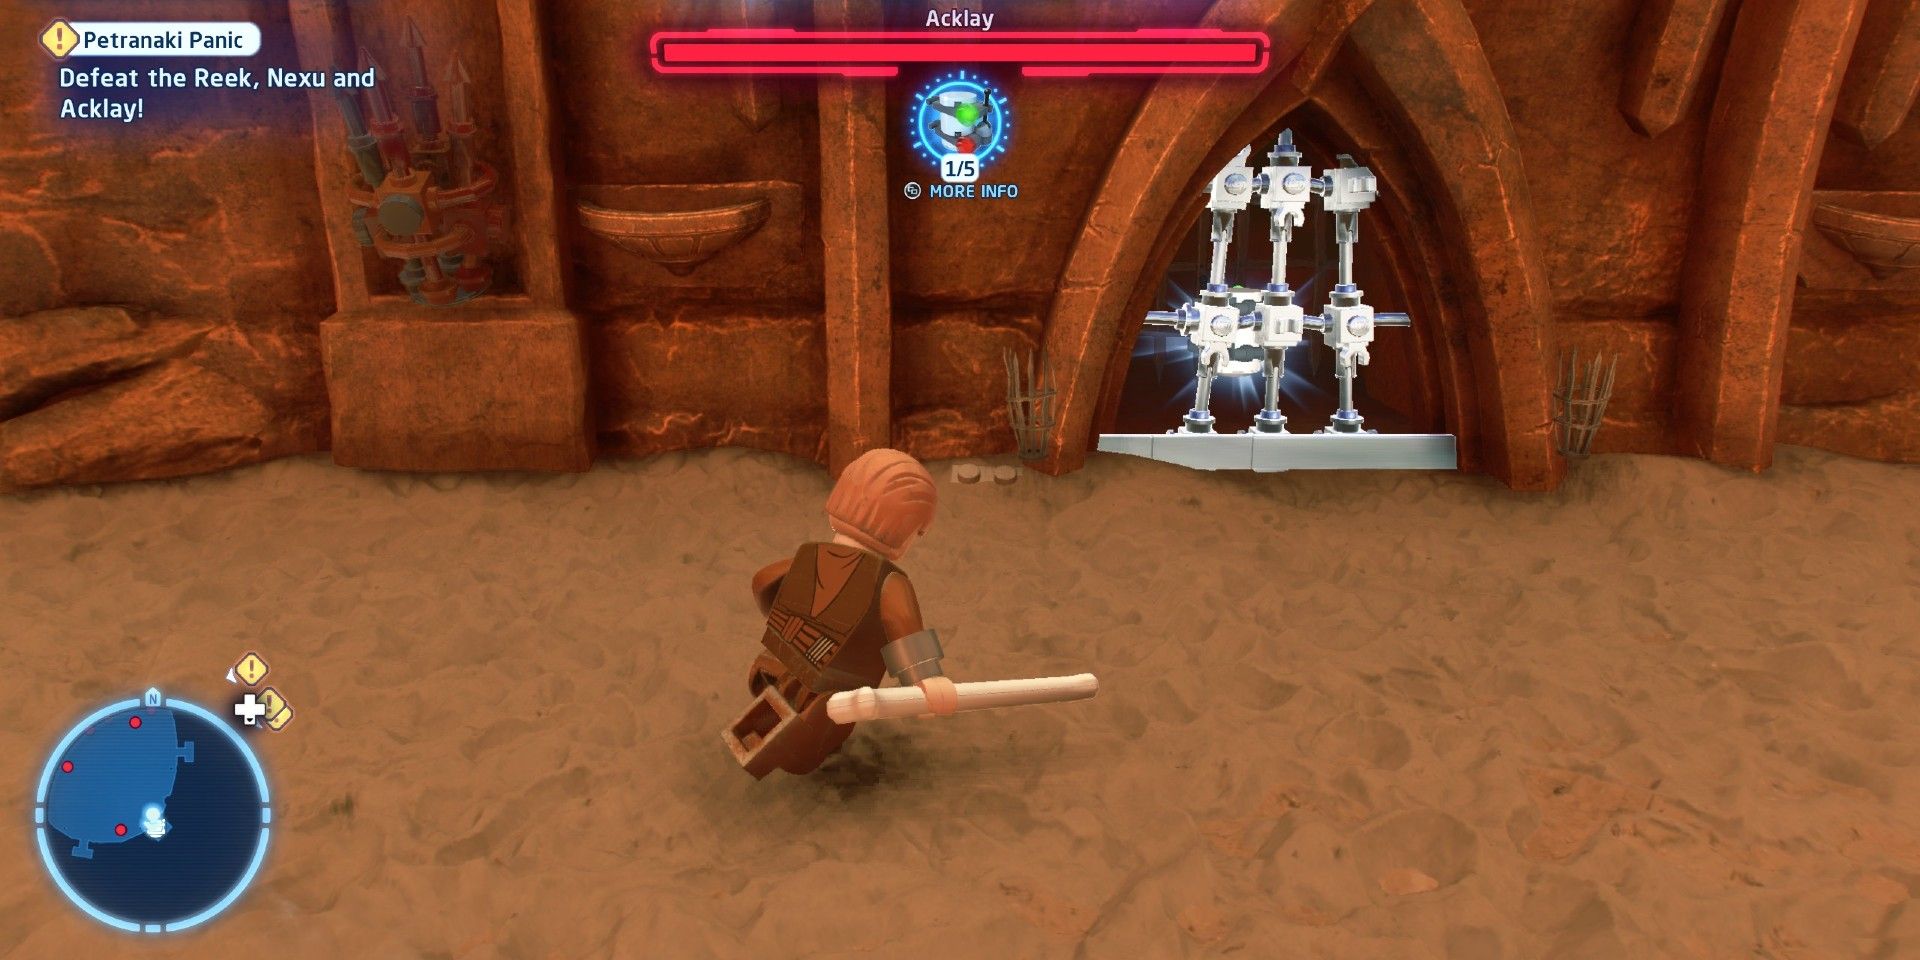
The Petranaki Panic Minikits are easy to obtain as well, though this is another mission where players will need to get almost all of them in Free Play mode. Only some characters in LEGO Star Wars: The Skywalker Saga like Scavengers or Astromechs will give players access to these Minikits, but there is at least one that can be found during the Story Mode playthrough. Furthermore, it’s much easier to grab all five Minikits before defeating the three beasts of the arena.
- Minikit #1: Destroy the five sandcastles in the arena to get the first Minikit.
- Minikit #2: Using a Scavenger’s Breaker Blaster, destroy the doorway in an alcove on the outside of the arena.
- Minikit #3: Using a Villian, destroy the metal gate with a grenade for the third Minikit.
- Minikit #4: Destroy the next metal object near the steel door, build the Geonosis turret, then shoot the five green targets out of the sky.
- Minikit #5: Using an Astromech, open the gate on the outside of the arena near Padmé’s tower to get the final Minikit in the LEGO Star Wars Petranaki Panic mission.
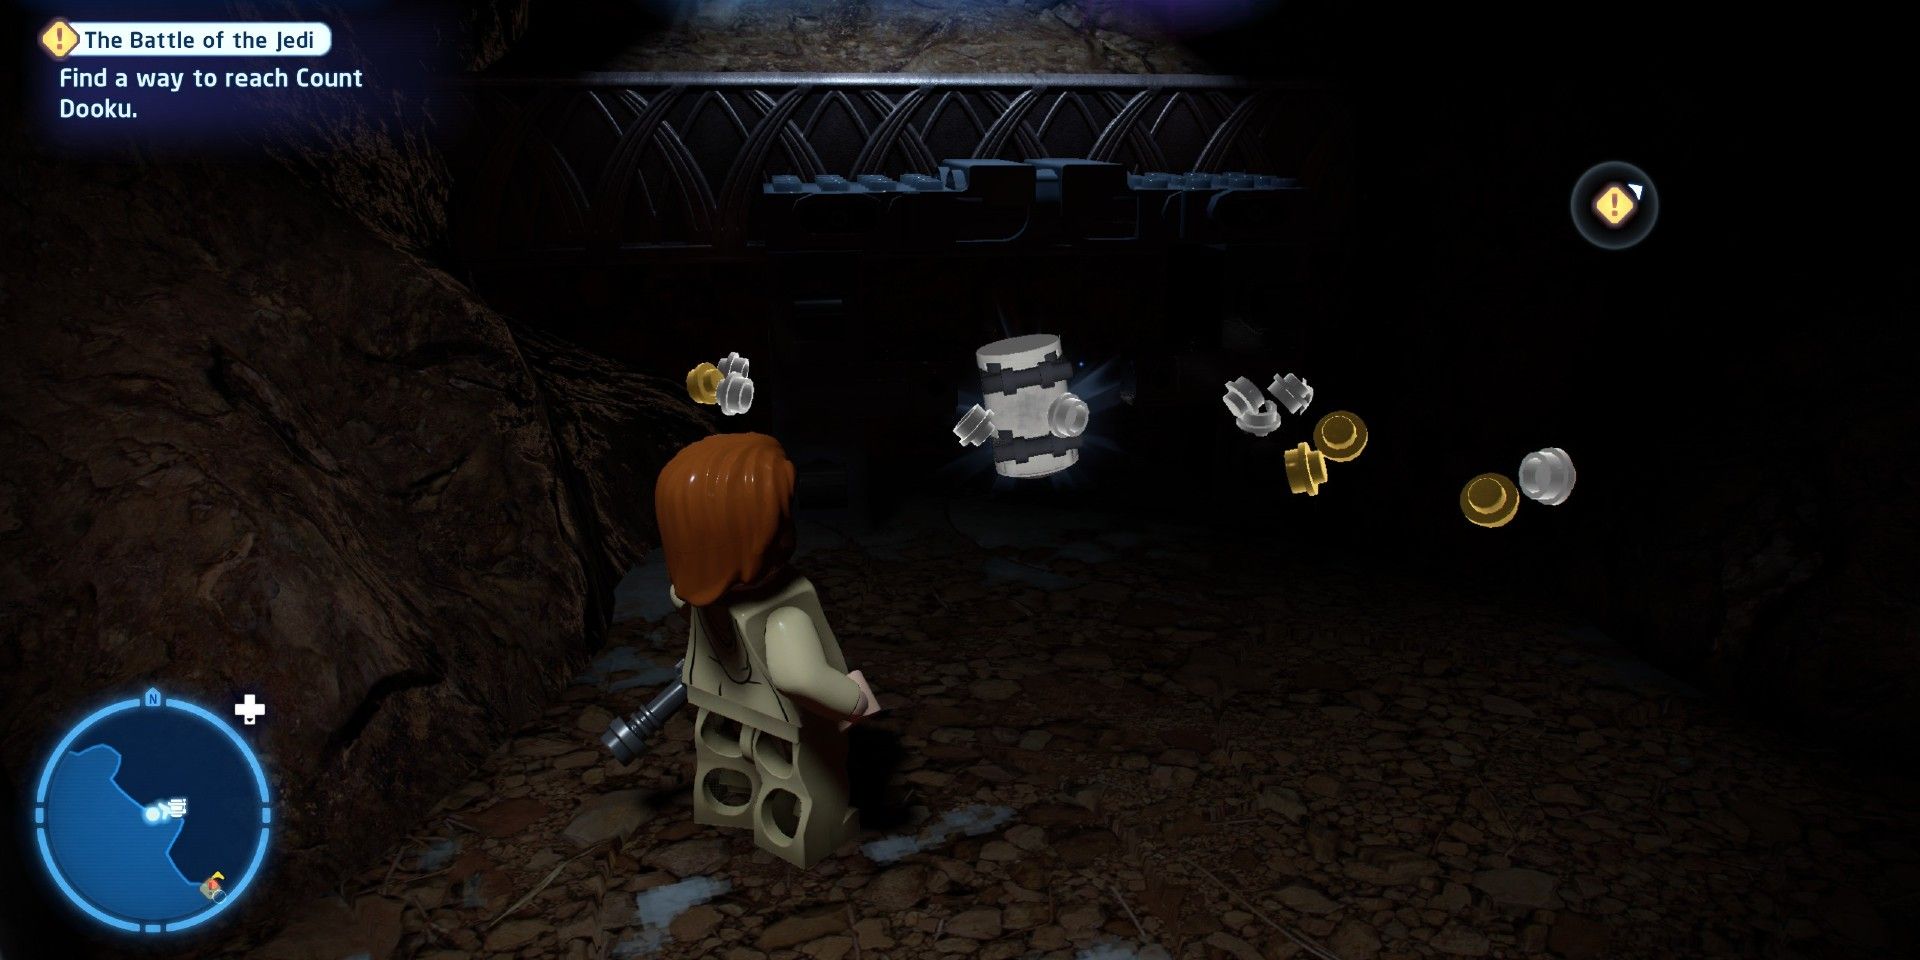
The Battle of the Jedi is the final mission of Episode II: Attack of the Clones, and once more players will need to return to the mission in Free Play mode to get every Minikit. These Minikits have a more linear progression to their appearances in the mission as Count Dooku is hunted down in his hangar. Be sure to grab all of the Minikits before defeating Darth Tyrannus.
- Minikit #1: Use a Scavenger on the left side of the first room after unlocking the net launcher schematic, climb the net, then navigate the wall to the Minikit.
- Minikit #2: In the next room, use a Bounty Hunter like the Mandalorian DLC character in LEGO Star Wars to shoot the gold bricks to find the second Minikit.
- Minikit #3: Switch to a Scavenger in the dark staircase to use the Breaker Blaster on the doorway to find the next Minikit.
- Minikit #4: In the room where players face Count Dooku, head to the back right area to find moveable items that are hiding the Minikit.
- Minikit #5: Near the area where the fourth Minikit is located is a Villian terminal. Access it, build the bricks into a turret, the defeat the four newly spawned enemies to get the final Minikit.
LEGO Star Wars: The Skywalker Saga is available for Xbox One, Xbox Series X/S, PlayStation 4, PlayStation 5, and PC.
Go to Source
Author: Kaleb Smith